
January is almost over and I've decided to get on board with some fresh organizing ideas for Studio B. I was browsing the internet and ran across this awesome idea for patterns. Don't know who to give credit to for this but honestly ... this is NOT my idea. However it is GREAT! took about three days to get'er done, but finally it's completed and
I absolutely love it.
Things you will need:
Sheet Protectors
Small mailing envelopes
3 Ring binder notebook
STEP 1 Remove guts from pattern and place in mailing envelope. With permanent
t
 marking pen write the company of pattern (Simplicity,Mccalls etc.) in one corner and in the other write the number of the pattern or whatever description you'll need to identify with later on .
STEP 2 Place Pattern envelope in sheet protector and place in notebook.


STEP 3 File envelopes in your special place. When you want to select a pattern just enjoy thumbing through the pages of your notebook , find what you want to sew, go to your file and at your fingertips, without the mess of sorting thorugh a mirage of patterns, wa-la.

ENJOY!
ALong with orgznizing patterns, I've sorted through buttons, old jewelry for mixed media collage, pencils, pens, paintbrushes and I thought I'd share how I've mastered this wonderful art of organizing.(let's see how long it lasts (lol)
Gotta get some happy paint on those walls. QUICK!


This is my work table. It's huge so I have plenty of room to operate while I'm painting and such. Now all I need to do is insulate the ceiling so it will stay cool in summer and warm in winter. Luckily I live in an area where winter doesn't get too cold, but summer......that is another story.
Quite proud of myself for a long, hard job well done!


LAMP REVAMP
In case ya'll didn't know (yup Im from the south) I've joined the antiquing , art gallery boothing scene that seems to be the big thing now days. Rent a booth, sell your stuff. So.... I've called mine "Yella-Wall Creations" cuz I painted my wall Bright Canary yellow and everything is so bright and colorful. So...My mother (I love her so much) was dumping these little life-guard lamps, ( maybe you've seen them around) and I screamed NO!!!!!!! don't do that! Let me see what I can do with these bobaloos! Here goes........................

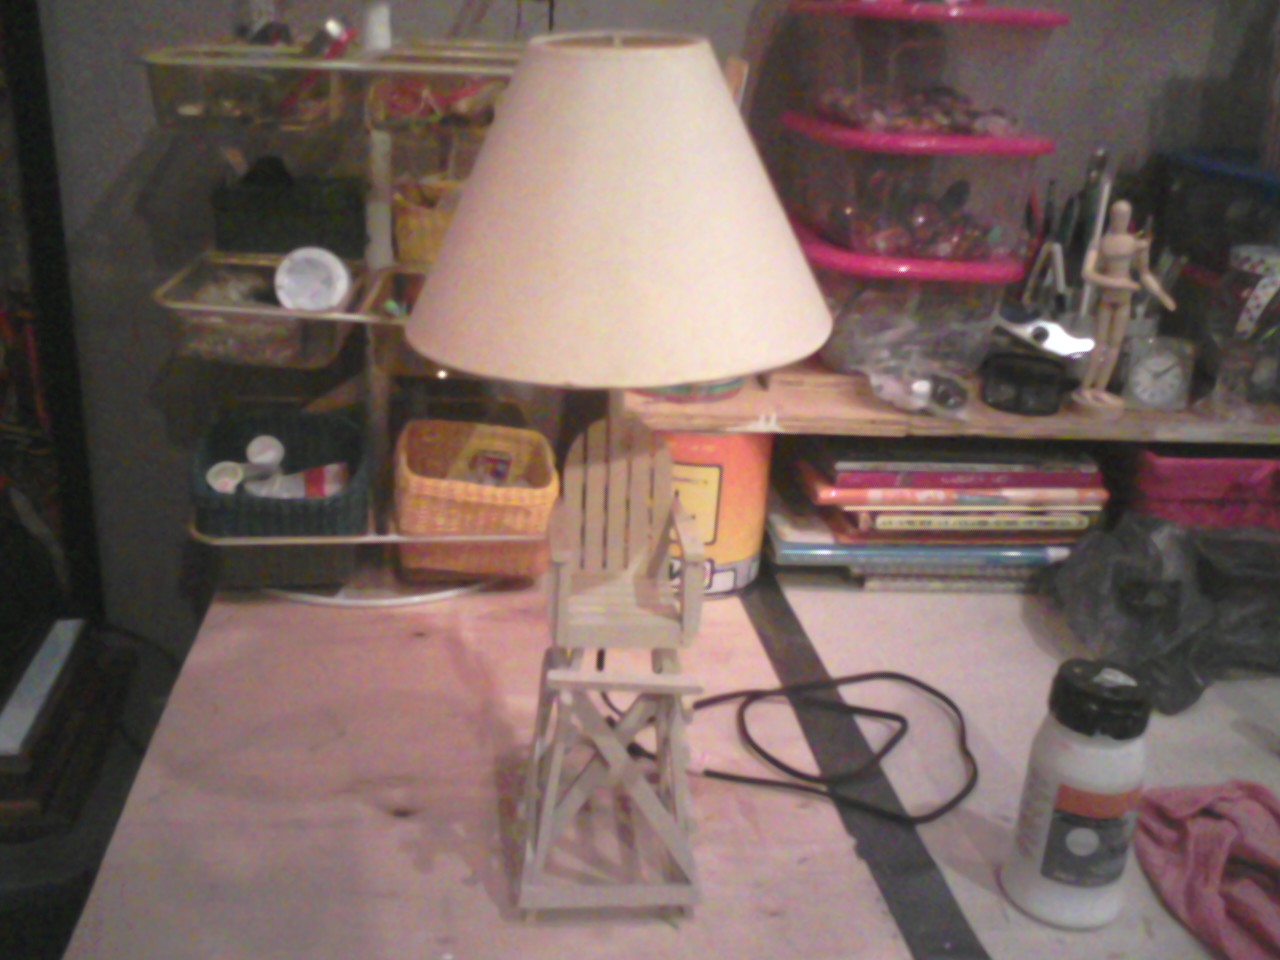
Before their world began- dirty, dismal and boring!


AFTER - Happy, and full of life! So.......
LET THERE BE LIGHT!
A little paint goes a long way and I've decopauged the shade with those cute little umbrellas people use to put in their tropical drinks. Of couse rhinestones is a must and tulle gathered together makes a beautiful little flulffy along the edges.
I hope you've enjoyed your visit today and will drop in again soon. Until then.....get artsie-crafty and make something cool! I've got real work that must be done today. Don't like it but smebody's got to do it!
